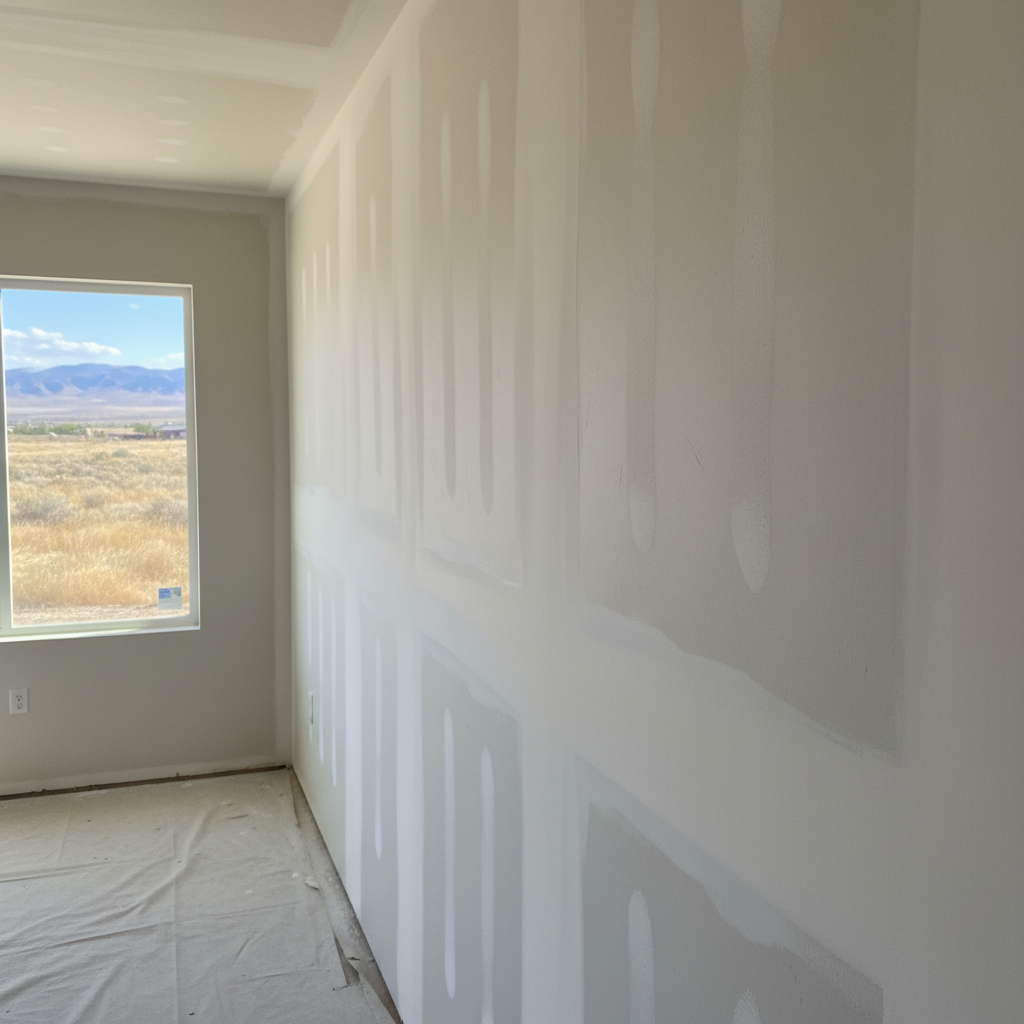
So, you’ve hung the drywall sheets, right? Good job. That’s a big step. Now comes the part that separates a decent DIY job from a professional finish: taping and mudding. This isn’t just slapping some mud on the wall; it’s an art form, really. And it’s where a lot of homeowners get stuck, or worse, end up with walls that look like a topographical map.
Before You Even Think About Mud
First things first, gather your gear. You’ll need drywall mud (all-purpose is fine for most DIYers, though setting-type mud can speed things up if you know what you’re doing), paper tape, a mud pan, and a few different sized knives – a 6-inch, a 10-inch, and maybe a 12-inch. Don’t skimp on the knives, by the way; cheap ones will make your life miserable. You’ll also want a sanding pole with fine-grit sandpaper, a good dust mask, and safety glasses. Trust me, you don’t want drywall dust in your lungs or eyes. A shop vac is your friend here, too.
Make sure your sheets are properly screwed in. No loose spots, no screws sticking out. If you can feel a screw head, it needs to go in deeper. If you tear the paper, put another screw right next to it. Any imperfections now will be magnified later. This is crucial.
The Taping Pass: First Coat
This is where you embed the tape. You’re not just covering the seam; you’re reinforcing it. Mix your mud to a consistency like thick yogurt – smooth, no lumps. Apply a thin, even layer of mud over the seam with your 6-inch knife. Don’t go too thick. Then, lay your paper tape over the wet mud, centered on the seam. Take your 6-inch knife and, starting from the middle and working your way out, press the tape firmly into the mud, squeezing out any excess. You want a thin layer of mud both under and over the tape. No bubbles, no wrinkles. If you get a bubble, just lift the tape and re-embed it. This first coat is all about getting that tape to stick and be flat.
For inside corners, you can pre-crease the paper tape, apply mud to both sides of the corner, then press the tape in. Use a corner tool if you have one, or just carefully use your 6-inch knife. Outside corners usually get metal or plastic corner bead, which you'll attach first, then mud over.
Second Coat: Feathering It Out
Once that first coat is completely dry (and I mean *completely* dry – usually 24 hours, sometimes more in our humid Layton summers), it’s time for the second coat. This is where you start to feather out the joint. Use your 10-inch knife for this. Apply a wider, slightly thicker layer of mud over the taped joint, extending a few inches past the edges of the first coat. The goal here is to start building up a slight crown over the tape, making the joint disappear into the wall plane. Keep your knife at a shallow angle and apply even pressure. Don’t try to make it perfect; you’ll have another chance.
For screw holes, just apply a small dab of mud, then scrape it flat with your 6-inch knife. You’ll do this twice, maybe three times, just like the seams.
Third Coat: Making It Disappear
This is the final mudding pass. Use your 12-inch knife, or even an 18-inch if you’re feeling confident. Apply an even wider, very thin layer of mud over the second coat, feathering it out even further. The idea is to make the transition from the mudded area to the bare drywall virtually invisible. Hold your knife at an even shallower angle than before. This coat should be super smooth. Any ridges or bumps now will mean more sanding later.
Let this coat dry completely. Again, patience is key. Rushing this step will only lead to headaches. I've seen folks in older homes near Hill Air Force Base try to speed things up, and they always regret it when the paint highlights every imperfection.
Sanding: The Dust Bowl
Now for the fun part: sanding. Get your dust mask on. Use a sanding pole with fine-grit sandpaper (150-220 grit). Lightly sand all your mudded areas. You’re not trying to remove all the mud; you’re just smoothing out any knife marks, ridges, or imperfections. Go easy. Over-sanding can expose the tape or create depressions. Run your hand over the surface. It should feel smooth and seamless. If you see any shiny spots (called