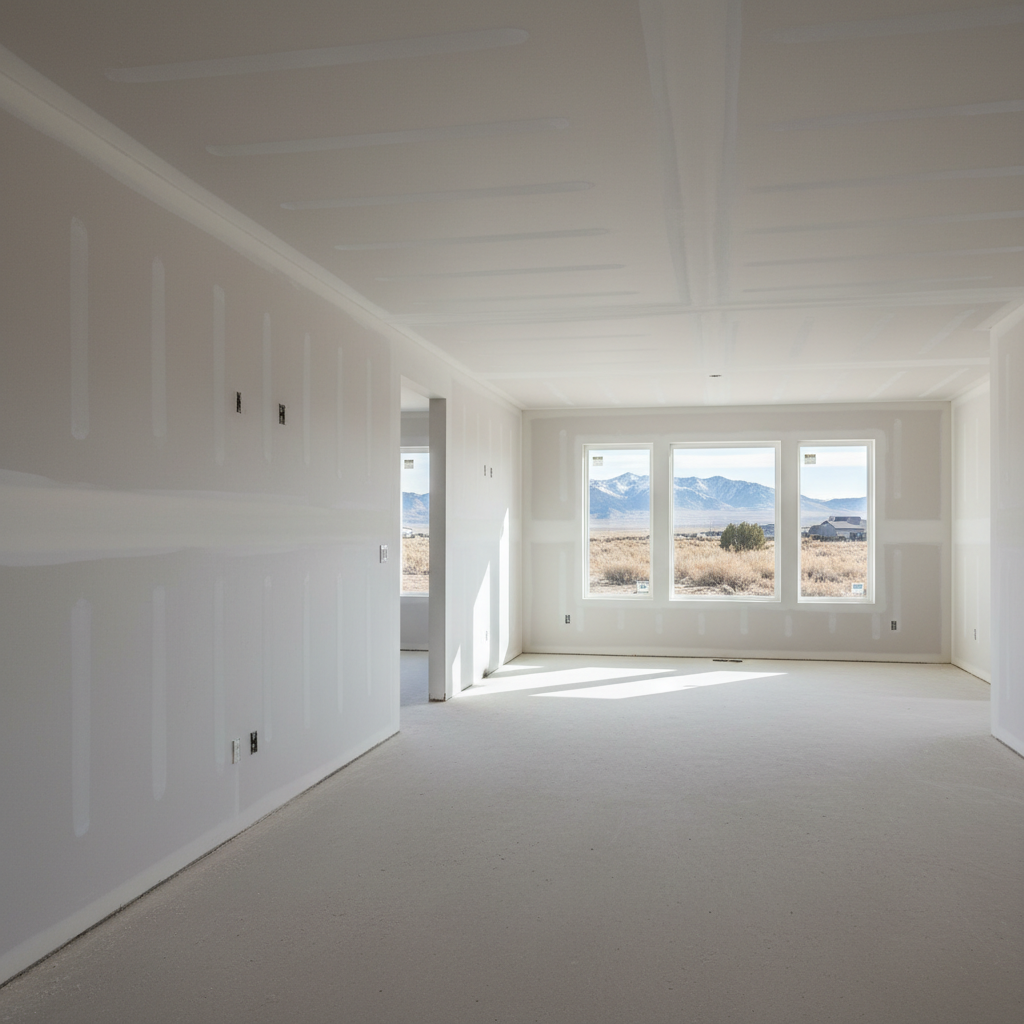
Alright, you've got new drywall up, or maybe you're patching a big section, and now it's time for the taping and mudding. This isn't just slapping some mud on the wall, you know; it's an art form that really makes or breaks how your finished room looks. It's also where a lot of homeowners just get completely overwhelmed. Let's break down what you need to know to plan this part of your project right.
Understanding the Timeline: It's Not a Sprint
First off, forget about getting this done in a day or two. Taping and mudding is a multi-step process, and patience, honestly, is your best friend here. You've got to apply several coats of joint compound, and each one needs to dry completely before the next. Depending on humidity, temperature, and how thick the mud is, drying can take anywhere from 12 to 24 hours per coat. Here in Layton, especially during our humid summers or colder, drier winters, those drying times can really fluctuate. If you rush it, you'll end up with cracks, bubbles, or uneven surfaces that'll show right through your paint. And nobody wants that.
Typically, you're looking at a minimum of three to five days for a standard room, sometimes longer for bigger or more complex areas. That includes the initial taping coat, then two to three more coats of mud, and finally, sanding. Don't let anyone tell you they can do a quality job much faster than that; they're probably cutting corners, plain and simple.
What to Expect During the Process
When we're on the job, it gets a little messy, but we work to keep it contained. Here's the rundown:
- Taping: We'll embed paper or fiberglass mesh tape over all the seams and corners with a thin layer of mud. This is the structural backbone that prevents cracks.
- First Coat (Fill Coat): This is a thicker layer of mud applied over the tape and screw/nail heads. It starts to feather out the seams.
- Second Coat (Skim Coat): Once the first coat is dry, we apply a wider, thinner coat. This smooths out any imperfections from the first coat and further blends the seam into the wall.
- Third Coat (Finish Coat): This is the lightest and widest coat, designed to create a perfectly flat, seamless surface ready for primer. Sometimes a fourth coat is needed, especially on tricky corners or if you're going for a Level 5 finish.
- Sanding: After the final coat is completely dry, we'll sand everything smooth. This is the dustiest part of the job, no two ways about it. We use dust-reducing sanders and vacuums, but fine drywall dust still gets everywhere. You'll want to protect everything in the vicinity.
Expect some noise from sanding and the general activity. We're usually pretty good about keeping our work area tidy, but it's not a clean room operation until the very end.
How to Prepare Your Space for Drywall Finishing
Preparation is key for a smooth project. If you're doing the prep, here's what I recommend:
- Clear the Room: Get all furniture out of the room. If it can't be moved, push it to the center and cover it completely with plastic sheeting.
- Cover Floors: Lay down drop cloths or plastic sheeting to protect your floors. Drywall mud, once dry, is tough to get off.
- Turn Off HVAC: If you can, turn off your heating or air conditioning system during sanding. This helps prevent dust from circulating throughout your entire house. Once the dust settles, you can turn it back on and change your filters.
- Ventilation: Open windows if weather permits. Good airflow helps with drying and reduces dust in the air.
- Access: Make sure we have clear access to the work area. Move any obstacles, tools, or personal items that might be in the way.
We've worked in some older homes around the East Bench where the plaster walls were a nightmare to match up to new drywall. Good prep makes even those jobs go a lot smoother.
Questions to Ask Before You Sign That Contract
Before you commit to a contractor for your taping and mudding, you need to ask some pointed questions. Don't be shy; it's your home and your money, after all.
- What level of finish do you provide? There are different levels of drywall finish, from Level 0 (just the drywall panels) to Level 5 (a perfectly smooth, blemish-free surface, often required for high-gloss paints or critical lighting). Make sure you're getting the level you expect and need for your project.
- How many coats of mud do you typically apply? As I mentioned, more coats usually mean a better finish. A contractor who says they can do it in two coats might be cutting corners.
- What kind of joint compound do you use? There are different types – lightweight, all-purpose, setting-type. Each has its place. A good contractor will explain their choice.
- How do you manage dust? We use dust-reducing tools and methods, but it's worth asking what their specific plan is to minimize dust in your home.
- What's your cleanup process? Will they remove all debris and leave the site broom-clean?
- What’s your warranty on the work? A reputable contractor will stand behind their work.
- Can you provide references or show me examples of your finished work? Seeing is believing.
At New Look Drywall Co, we're always happy to walk you through our process and answer every one of these questions. We want you to feel confident and informed. Getting your drywall finished right is a big step towards a beautiful room, so take the time to plan it well.