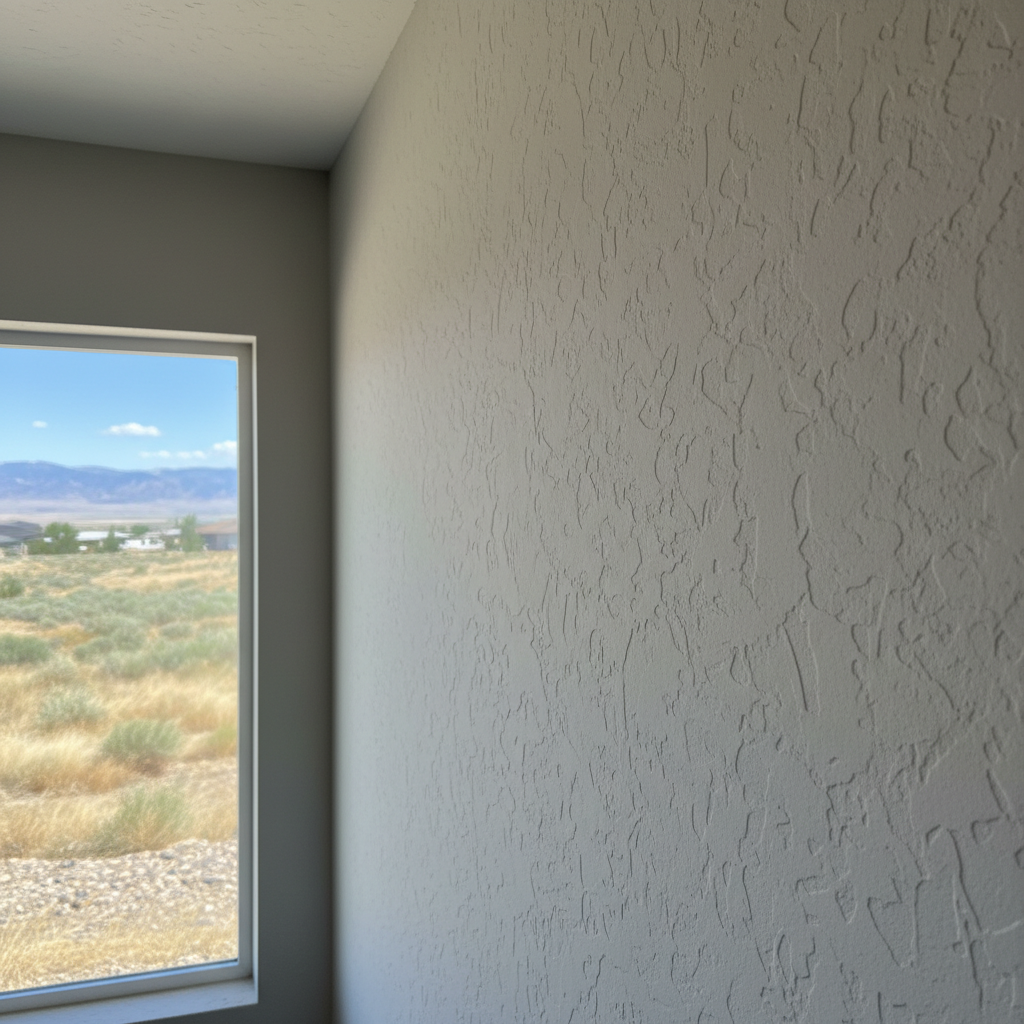
So, you've just put up some new drywall, or maybe you're just plain sick of those boring, flat walls. Texturing, you know, it really adds personality to a room, can hide little flaws, and just gives your whole home a fresh vibe. But hold on a second before you grab a trowel and a bucket of mud. Let's chat about what drywall texturing actually involves and when it makes sense to try it yourself versus just calling in a crew like us at New Look Drywall Co.
Before You Start: Planning Your Texture
First things first, what kind of texture are you even picturing? There are tons of choices out there. You've got your orange peel, knockdown, skip trowel, popcorn (though, honestly, most folks around Layton are ripping that stuff out, not putting it in!), and even custom textures applied by hand. Each one looks different and, more importantly, has its own level of difficulty.
Think about the room itself. A subtle orange peel might be perfect for a bedroom, but a more noticeable skip trowel could look amazing in a living room or entryway. Don't just pick one because it sounds cool; check out some examples. Wander through open houses, browse Pinterest, or even ask friends what they've got. Once you have an idea, you'll need to consider the tools and materials you'll need.
- Materials: You'll definitely need joint compound (most people just call it mud), and sometimes a texture additive or a specific pre-mixed texture product. Just make sure you get the right kind for the texture you've picked.
- Tools: This is where things can get a bit tricky. For orange peel or knockdown, you're usually looking at a texture sprayer, an air compressor, and a hopper. These aren't cheap to rent or buy, and they take some real practice to use well. If you're doing hand textures like skip trowel, you'll need various trowels, sponges, or brushes.
- Preparation: This part is super important. Your walls need to be clean, dry, and primed. Any dust, grease, or loose paint will completely mess up your texture. If you've just installed new drywall, it has to be properly taped, mudded, and sanded smooth first. Texturing isn't some magic trick to cover up bad drywall work, unfortunately.
During the Project: The Nitty-Gritty
Okay, so you've picked your texture, gathered your gear, and prepped the room. Now what? This is usually where the line between DIY and calling a pro gets pretty clear.
DIY-Friendly Textures:
- Hand-Applied Textures (the simpler ones): Things like a light skip trowel or a sponge texture? A homeowner with some patience can totally do these. You spread a thin layer of mud and then use a trowel or sponge to create your pattern. It's more forgiving, too, because slight variations just look natural. Start in a spot no one really sees, like inside a closet, to get a feel for it.
- Light Roll-On Textures: Some products are actually made to be rolled on with a special texture roller. These are generally easier than spray textures but still require a steady hand.
When to Call New Look Drywall Co:
- Spray Textures (Orange Peel, Knockdown): Look, getting a consistent spray texture is an art. If you've ever seen a bad orange peel job, you know what I mean — splotchy, uneven, too thick in some spots, too thin in others. The equipment is expensive, and it takes practice to get the mud consistency, air pressure, and spray pattern just right. We've got the specialized sprayers and years of experience making it look perfect.
- Large Areas: Texturing a small bathroom wall? Maybe you can handle it. But texturing an entire living room, kitchen, and hallway? That's a huge job, especially with spray textures. It's messy, takes forever, and is physically demanding.
- Ceilings: Texturing ceilings? That's a whole different animal. Gravity is not on your side. It's incredibly messy and really hard on your neck and shoulders. Unless you're a seasoned DIYer, I'd strongly suggest leaving ceiling textures to the pros.
- Matching Existing Texture: Trying to match an existing texture after a repair? This is one of the toughest jobs out there. It takes a skilled eye and a lot of practice to blend new texture seamlessly with old.
One thing I've noticed around Layton, especially with some of the older homes near Hill Air Force Base, is that the original textures can be pretty unique. Trying to match those without the right experience can be a real headache.
After the Texture: Finishing Touches
Once your texture is on, you're not quite finished. It needs to dry completely. This can take anywhere from 24 to 72 hours, depending on how thick the texture is, the humidity, and the temperature. Don't try to rush it!
After it's dry, you'll want to prime the textured surface. Textures, especially the spray-applied ones, can be pretty porous. Priming helps seal the surface, makes sure the paint absorbs evenly, and just makes your topcoat look much better. Seriously, don't skip this step, or you'll end up using way more paint than you need to, and the finish won't be as uniform.
Finally, it's time to paint. Use good quality paint and put it on following the manufacturer's directions. You might need a roller with a deeper nap to get into all those little nooks and crannies of the texture.
Texturing can absolutely transform a room, no doubt about it. But be honest with yourself about your skills and how complicated the job is. For smaller, simpler hand textures, go for it! For anything involving sprayers, large areas, or matching existing work, you'll save yourself a lot of frustration (and potentially a lot of money fixing mistakes) by calling a professional. Give us a shout at New Look Drywall Co if you want to talk through your project.