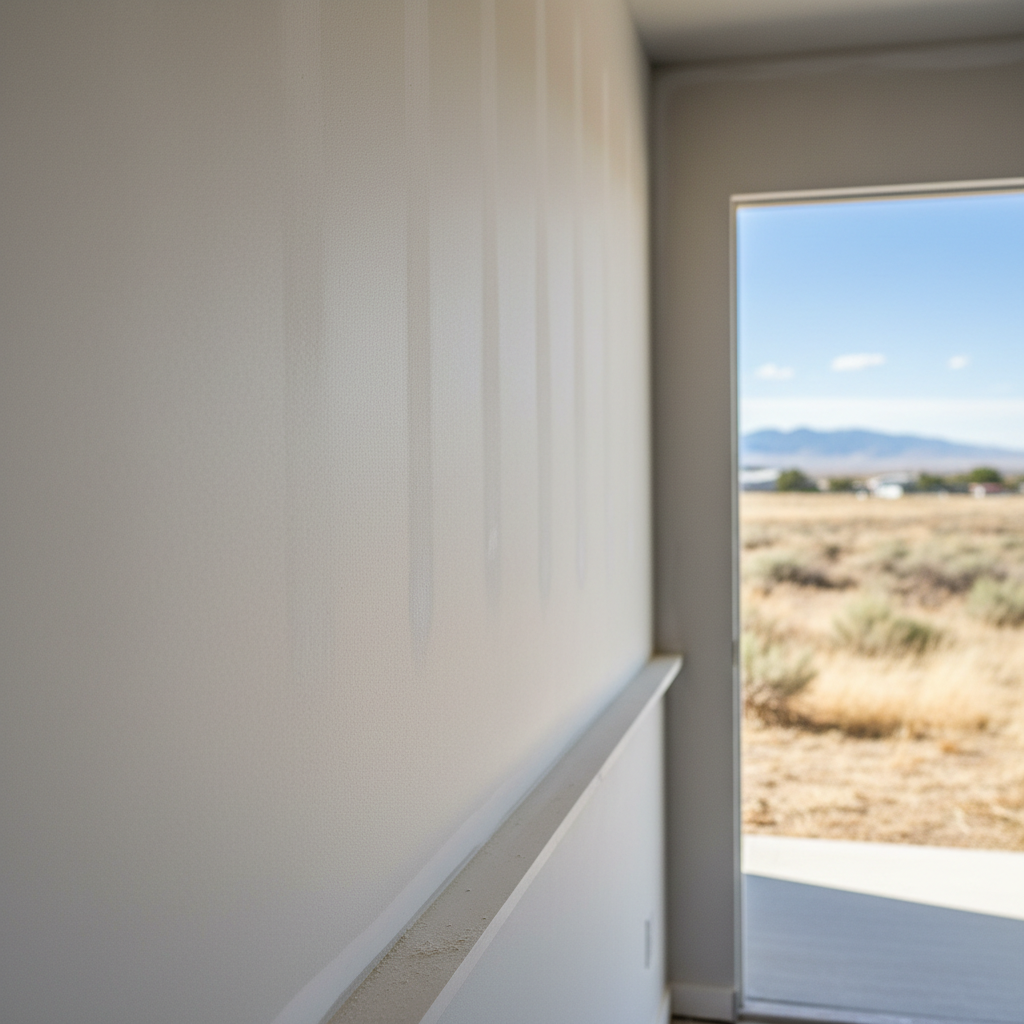
So, you've got your drywall hung. Maybe you did it yourself, or maybe you had some help – good for you either way. Now you're staring at a bunch of flat panels, all with seams and screw heads, and you're probably thinking, "How in the world do I make this actually look like a wall?" That's drywall finishing. And trust me, it's where the real magic (and sometimes the real headaches) happen.
Before You Start: What You Need to Know
Finishing drywall isn't just about slapping mud on the wall. Nope. It's an art, really, and it takes patience. A whole lot of it. Before you even think about opening a bucket of joint compound, you need to understand what you're getting yourself into. We're talking about creating a perfectly smooth, seamless surface that will look fantastic once it's painted. Any little imperfection you leave now? Oh, it'll scream at you once the paint goes on, especially with modern flat paints that seem to highlight every single bump and divot. It's uncanny.
First things first: double-check that your drywall sheets are hung correctly. If you've got big gaps, uneven edges, or screws sticking out, you're going to have a much tougher time getting a good finish. Go around and check every screw head; they should be slightly recessed, just breaking the paper but not tearing it. If you can feel a screw head, drive it in a bit more. Also, make sure all your panels are tight against the studs and each other. You definitely don't want any movement.
What kind of finish are you even aiming for? There are different levels, from Level 0 (just hung, no finishing at all) to Level 5 (the smoothest, most paint-ready surface you can get). For most homes in Layton, especially if you're planning to paint with a flat or eggshell, you're really shooting for a Level 4 or 5. This means multiple coats of mud, careful sanding, and a primer coat that truly shows off the surface.
Your Tool Kit: Don't Skimp Here
You don't necessarily need a ton of gear, but what you do need, you want to be decent quality. Here's a basic list to get you started:
- Joint Compound (Mud): Lightweight all-purpose is usually fine for most coats. Setting-type compound, often called "hot mud," can speed things up for initial fills, but it dries fast and is harder to sand.
- Taping Knife: A 6-inch knife is essential for embedding tape and filling screw heads.
- Finishing Knives: You'll want an 8-inch, 10-inch, and maybe a 12-inch. These are what you use to feather out the mud.
- Mud Pan: For holding your compound.
- Drywall Tape: Paper tape for seams, mesh tape for repairs or corners (though paper is generally preferred for flat seams).
- Sanding Pole and Sanding Sponge: Or a hand sander. Dustless sanders are a real game-changer if you can get your hands on one, especially if you're working in a finished space.
- Utility Knife: For trimming tape.
- Dust Mask and Safety Glasses: Seriously, wear them. Drywall dust is no joke, and your lungs will thank you.
The Process: Taping, Coating, and Sanding
This is where that patience we talked about really comes in. You're going to be doing a lot of waiting for mud to dry.
1. Taping: Start by applying a thin, even coat of mud over all your seams. Then, embed your paper tape into that wet mud, pressing it firmly with your 6-inch knife. This squeezes out any excess mud and air bubbles. You want the tape fully adhered and centered over the seam. For inside corners, pre-crease the paper tape, apply mud to both sides of the corner, then embed the tape. For outside corners, you'll typically use metal or plastic corner bead, which gets fastened and then covered with mud.
2. First Coat (Fill Coat): Once the tape is dry (give it a good 24 hours, especially with Layton's humidity sometimes), apply a slightly wider, thin coat of mud over the taped seams and all screw heads. Use your 8-inch knife for this. Feather the edges out so you don't build up a ridge. Let it dry completely.
3. Second Coat (Skim Coat): This coat goes even wider, using your 10-inch knife. You're trying to smooth out any imperfections from the first coat and further feather those edges. The goal here is a very gradual transition from the mud to the bare drywall. Again, let it dry fully.
4. Third Coat (Finish Coat): If you're aiming for a Level 4 or 5 finish, you'll likely need a third, very thin coat, using your 12-inch knife. This is your final chance to get everything perfectly smooth. Pay extra attention to corners and butt joints (where the factory edges aren't tapered). These are often the trickiest spots to make disappear, in my experience.
5. Sanding: Okay, this is the dusty part. Use a medium-grit sanding sponge or paper (around 120-150 grit) on your pole sander. Sand lightly and evenly. You're not trying to remove huge amounts of mud, just smooth out any ridges, bumps, or knife marks. Feel the wall with your hand as you go; your fingers are often better at detecting imperfections than your eyes. Vacuum thoroughly after sanding. Then, hit it with a bright light held at an angle to highlight any remaining flaws. If you see them, apply a little more mud, let it dry, and sand again.
When to Call New Look Drywall Co.
Look, I'm all for homeowners tackling projects themselves, but drywall finishing is one of those things that looks easy until you actually try it. If you've got a small patch or a single wall, you might be able to get a decent result with enough patience. But if you're finishing an entire room, a basement, or a whole house, you're talking about hundreds of linear feet of seams and thousands of screw heads. That's a lot of mudding and sanding, my friend.
A professional drywall finisher, like what we do at New Look Drywall Co., can achieve a Level 4 or 5 finish much faster and with a consistency you'd be hard-pressed to get on your first (or fifth) try. We've got the specialized tools, the experience, and the know-how to spot and fix issues before they become glaring problems under paint. We also contain the dust a lot better, which is a huge plus for your home. Who wants drywall dust everywhere?
If you're finding yourself frustrated, or if your walls are starting to look more like a topographical map than a smooth surface, don't hesitate to give us a call. Sometimes, saving your sanity and getting a top-notch finish is absolutely worth bringing in the pros. We've seen it all, from the beautiful new builds in West Layton to older homes needing a facelift, and we can make your walls look perfect.