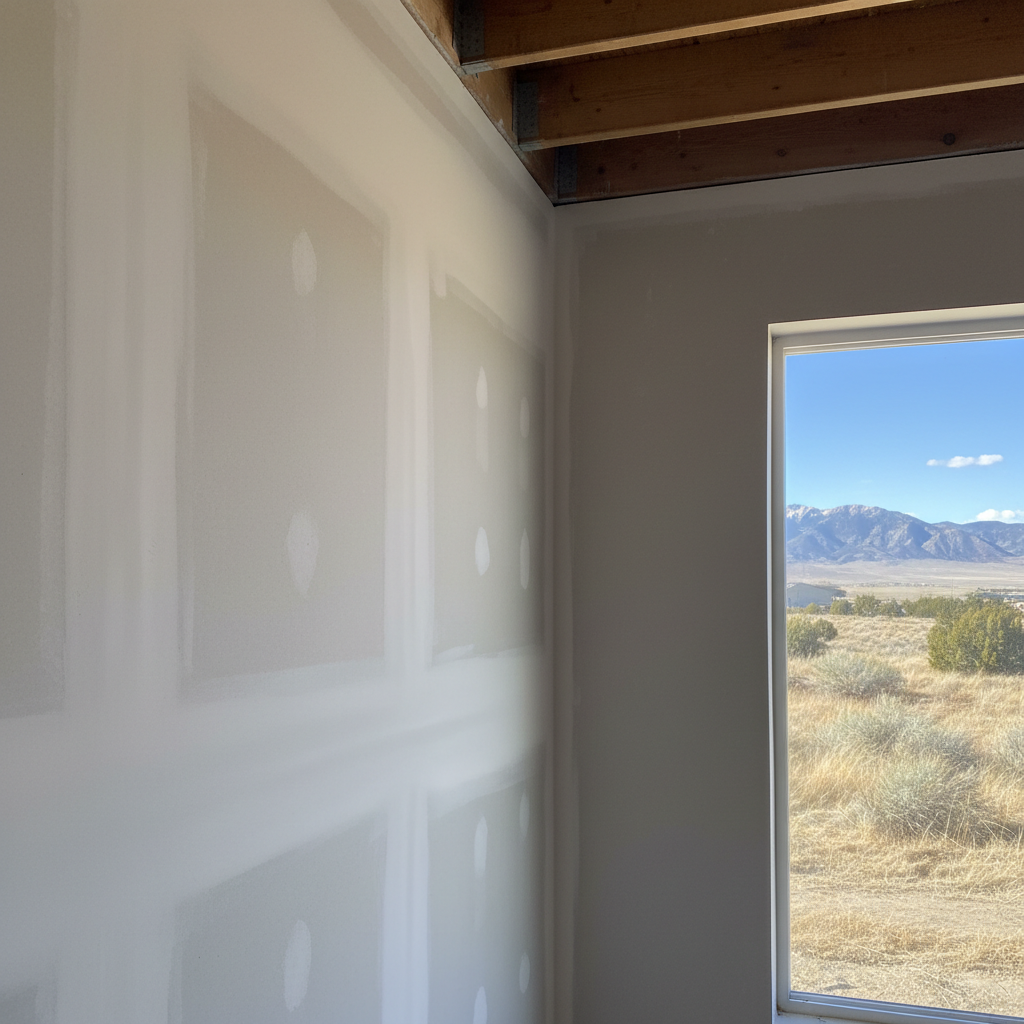
Thinking About DIY Drywall? Here's the Lowdown.
So, you've got a room that needs new drywall, or maybe you're just patching up a big hole, and you're thinking, "Can I actually do this myself?" That's a fair question. Drywall work, especially the finishing, has a bit of a reputation for being tough. And yeah, it can be. But let's talk about what you can realistically handle as a homeowner right here in Layton, and when it's just plain smarter to call in the pros.
Before You Even Buy a Sheet: Planning & Prep
Before you even think about cutting anything, you really need to plan. Seriously, this step is half the battle. Measure everything twice, maybe even three times. Know exactly where your studs are, where your electrical boxes will go, and any plumbing lines. Believe me, you do not want to cut into a water line after you've already screwed a sheet into place.
- Tools: You'll definitely need a utility knife, a T-square, a drill with a drywall bit (it's got a depth stop, and you'll thank me for this one), a jab saw for cutouts, and a sanding pole. For taping and mudding, grab some mud pans, taping knives (6-inch, 10-inch, 12-inch are good starting points), and a corner tool.
- Materials: Drywall sheets (1/2-inch is standard for walls; 5/8-inch works for ceilings or fire-rated spots), drywall screws, joint compound (we just call it mud), paper or fiberglass mesh tape, and corner bead.
- Safety: Dust masks are non-negotiable. Drywall dust gets everywhere, and breathing that stuff in is a bad idea. Eye protection, too.
There's one thing I always tell folks in our area, especially if you're working on an older home — say, in the East Bench area — and that's to check for lead paint or asbestos if you're tearing out old materials. That's not something you want to mess with yourself. Get a professional to test it, alright?
Hanging the Drywall: The DIY Sweet Spot
This is actually where most homeowners can save a decent chunk of money. Hanging the sheets isn't brain surgery, but it does require patience and a strong back. Here's what you should know:
- Start with Ceilings: If you're tackling a whole room, always begin with the ceiling. It's a bit harder, but your wall sheets will then help support the ceiling sheets.
- Go Horizontal: For walls, hang the sheets horizontally. This means fewer seams to tape and mud, which is a huge win for you.
- Screw Placement: Put screws every 12-16 inches on studs. Don't sink them too deep; just enough to dimple the paper without tearing it.
- Cutting: Score and snap. It's much faster and cleaner than trying to saw through an entire sheet. For outlets and windows, measure carefully, then cut with your utility knife or jab saw.
If you're just patching a small hole — maybe from a door handle going through the wall — you can absolutely do that yourself. Cut out the damaged section, add some wood backing behind the existing drywall, cut a new piece to fit, screw it in, and then you're all set for taping and mudding.
Taping & Mudding: Where Pros Shine
Okay, this is the part that really separates the DIY heroes from the "I really should've called New Look Drywall Co." crowd. Taping and mudding is an art form. It's all about making those seams smooth, flat, and completely invisible. It takes practice, a lot of patience, and just the right touch.
- First Coat (Tape Coat): Spread a thin layer of mud, embed your tape (paper tape is stronger, but mesh is easier for beginners), then skim over it to get rid of any extra mud. Let it dry completely.
- Second Coat (Fill Coat): Apply a wider, slightly thicker coat right over the tape. Feather out the edges nicely. Let it dry.
- Third Coat (Finish Coat): This will be your thinnest, widest coat. The goal here is a perfectly smooth surface. Feather it out even more than before.
- Sanding: Light sanding between coats helps, but the final sanding is super important. Use a fine-grit sandpaper and a sanding pole. Just be careful not to sand right through the paper on the drywall itself.
If you're doing a small patch, you can probably get a decent finish with a little effort. But if you're doing an entire room, especially a ceiling, getting it perfectly smooth and seamless is incredibly difficult for an amateur. You'll see every single imperfection once the paint goes on, trust me. I've seen plenty of paint jobs that highlight every mudding mistake. That's usually when people call us to come fix it.
When to Call New Look Drywall Co.
Look, I'm all for saving money and doing things yourself. But sometimes, it just makes sense to bring in the professionals. Consider calling us if you're:
- Doing a whole house or multiple rooms.
- Dealing with high ceilings or tricky angles.
- Aiming for a perfectly smooth, level 5 finish (that's the highest quality, where you can't see any seams, even under harsh lighting).
- Short on time or patience.
- Finding yourself completely frustrated with the mudding and sanding process.
We've got the tools, the experience, and the crew to get it done right — and often, a lot faster than you could yourself. Plus, we clean up the mess. So, if you hang the sheets and then decide you're over the mudding, or if you just want it done right the first time without the headache, give New Look Drywall Co. a call. We're happy to help Layton homeowners get that smooth, perfect finish.